hey and welcome to my blog on refurbing your alloys and saving money! alloys wheels as most people know are pritty hard to keep in good condition and there is always that 1 curb that you always hit so i thought id give you guys a nice and simple also quality way to refurbing your own alloy wheels...
for this i will be using a a saxo vtr alloy 15" so lets get started. First up go and buy what you need: filler primer, paint and clear lacquer you can buy these from alot of stores for example (halfrauds etc...) You also need some sand paper... Prep;Sanding paper (80Wet)... (dry 1200)
so here we go first picture:

your filler primer.. your spray paint (your choice of colour) and your clear lacquer.
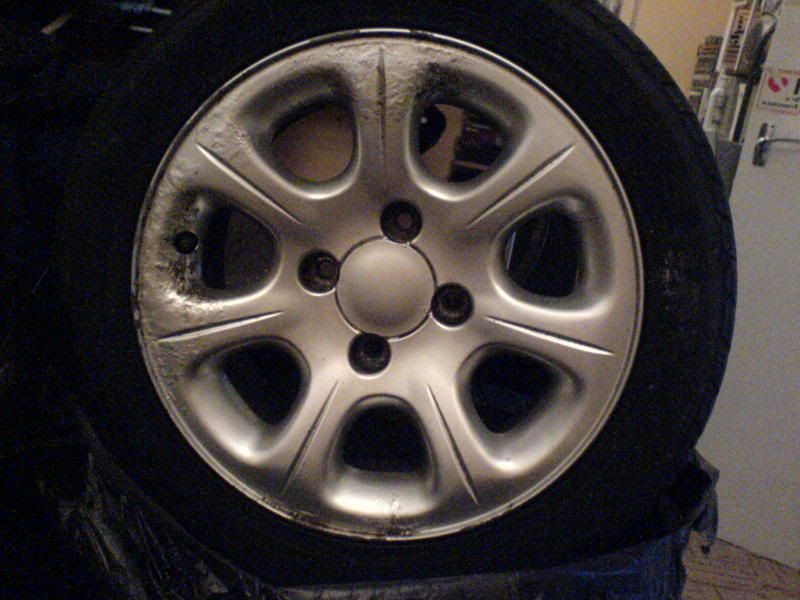
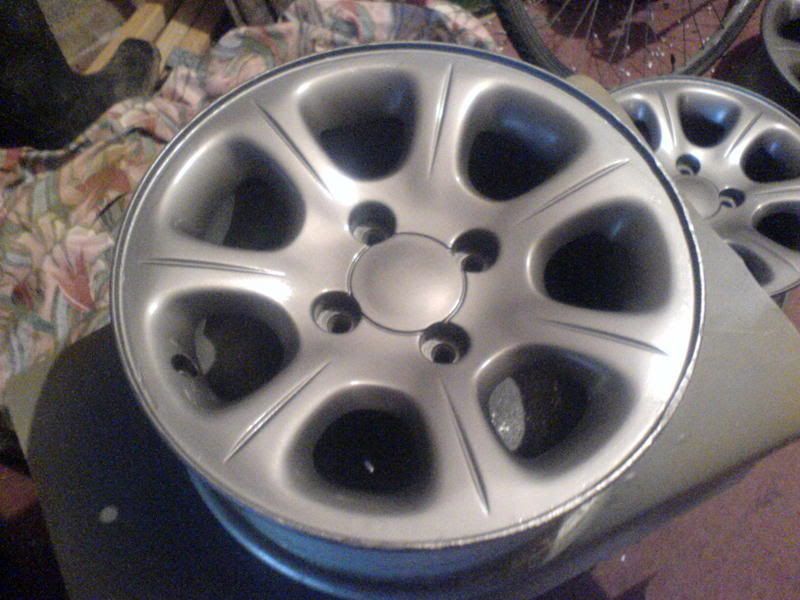
heres the alloy i will be refurbing, as you can see its in pritty bad shape.. bubbling and chips ect...
so here we go first real step is just some good ole elbow grease sanding your alloy down untill its smooth, now dont cheat and make sure you have sanded down the alloy to the metal since it will only cause imperfections later on

more sanding..


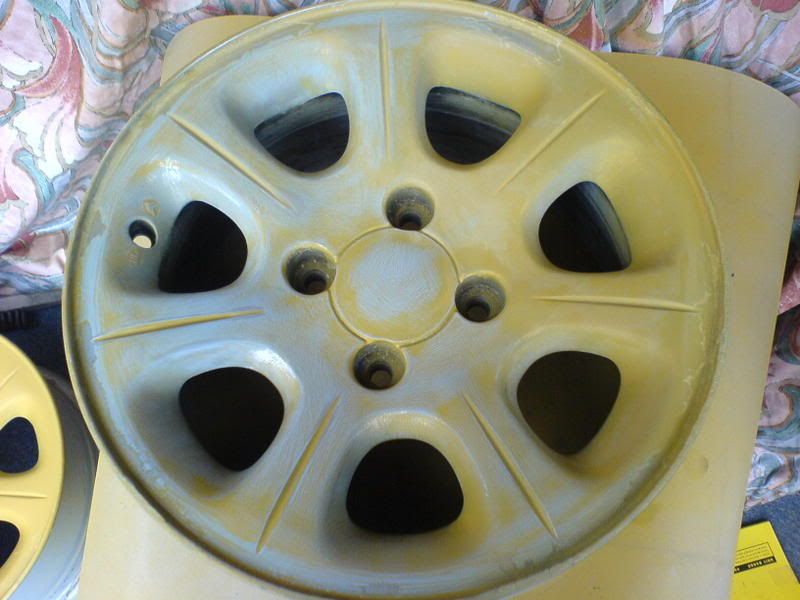
right so when your happy you have sanded your alloy down nice and smooth its time to apply your filler primer, this basically fills all your deep scratches and bubbles and leaves the alloy smooth...
so when your happy with the filling its time to sand it down yet again with some wet dry sanding paper
next up is the primer, REMEMBER WHEN PREPPING IT IS VERY IMPORTANT TO WET DRY BETWEEN EVERY LAYER OR YOU WONT HAVE A NICE SMOOTH SHINY END RESULT!!!
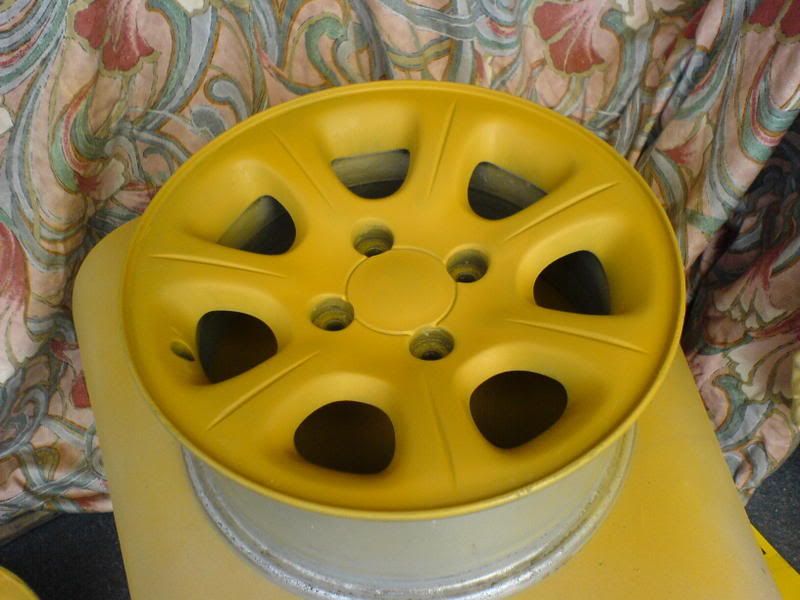
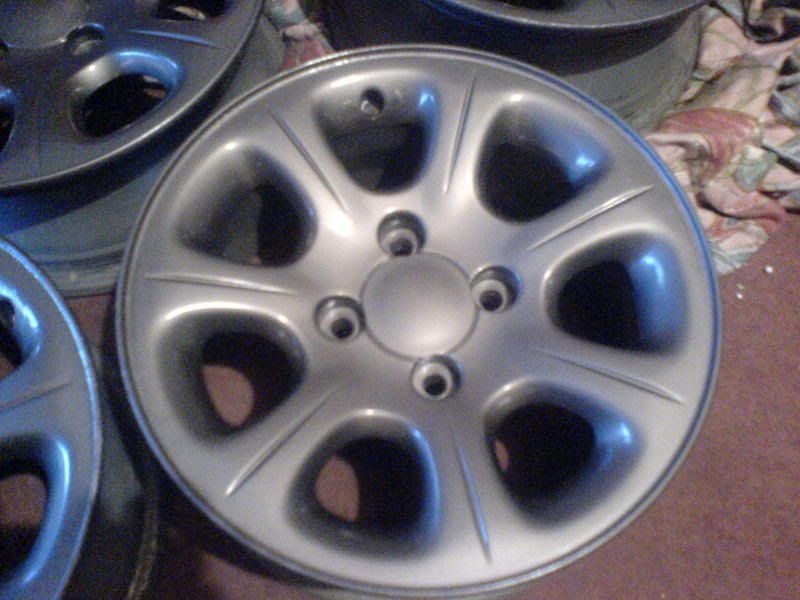
now leave this for 24 hours and reapply some more primer and leave to dry again for another 24 hours after this is dryed and your happy with the smoothness of the alloy its time to apply the paint you wish to paint, im going to use the classic alloy look again so here we go...
spray this on and leave for 24 hours and repeat the process again and leave for another 24 hours..
spray your clear lacquer to give it some strength to the pain...
I did about 5-6 coats of laquer you can never do enough12hrs between each layer 24hr after the final layer. This stage is extremely important that there is no dust, hair, dirt anything in the air because as you know laquer is see through so anything that sticks to the alloys when laquering will become apart of the alloy so be carefull!!!!
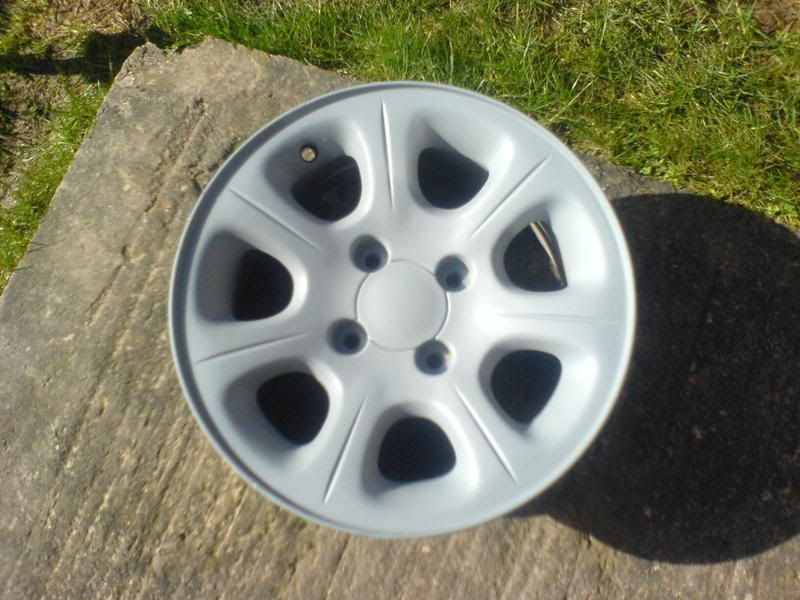
There you are the finished product.